
|
|
|
|
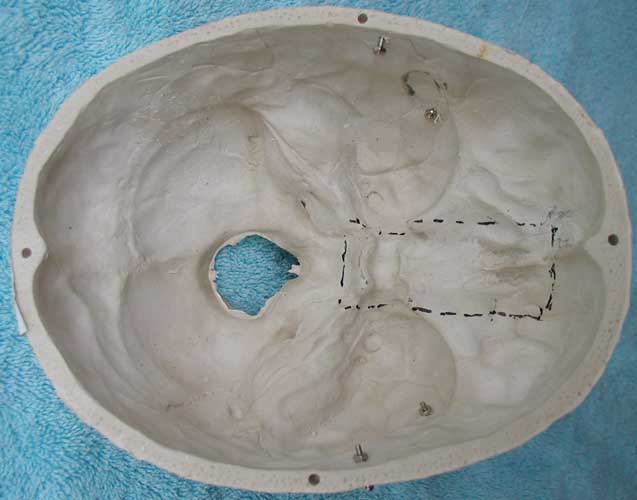
| We need to make a bracket that will allow us to mount a servo on the area marked by the dotted line. |
 |
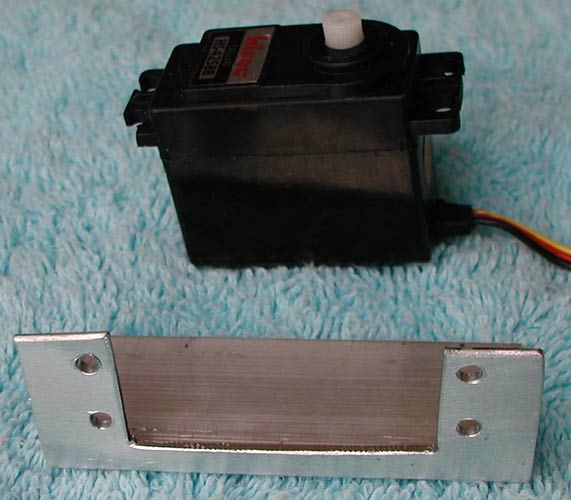 |
Using the appropriate tools (hack saw, tin snips, file, etc.) cut an opening in one side of the aluminum angle to accommodate the servo. Be sure to leave some of the "angle" to maintain strength. Drill holes to match the servo mount for 4/40 screws. This will be our servo bracket. |
 |
|
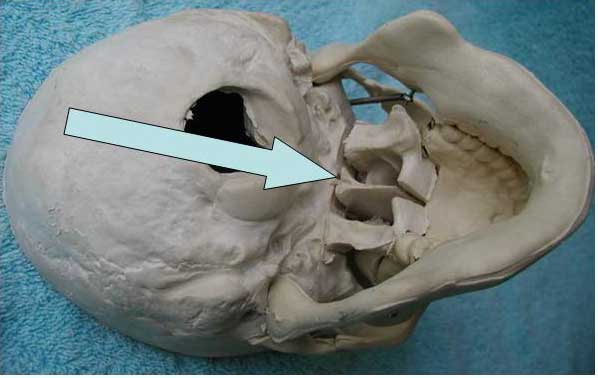
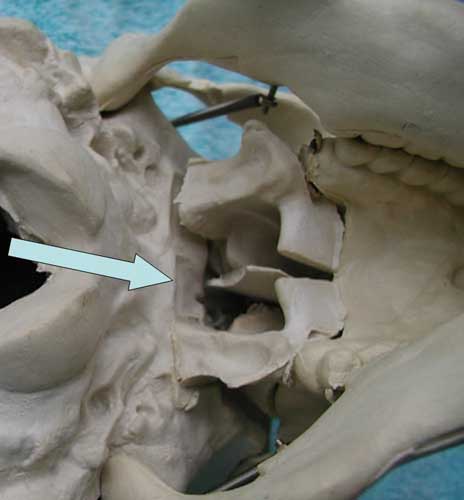
To mount the servo bracket in the skull, we'll want to drill a hole that comes out in the nasal cavity. We'll need to cut away part of the bone that divides the nasal cavity (the septum) as shown by the arrow. |
 |
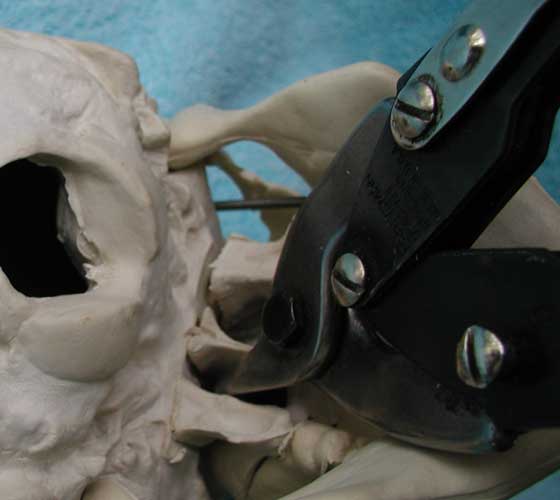 |
Using tin snips or diagonal cutters, snip away the rear portion of that bone. I've found that in most skulls, this piece is loose and after you cut it, it is easily removed. This will leave a nice flat surface (right) to accommodate the nut and washer in the next steps. |
 |
 |
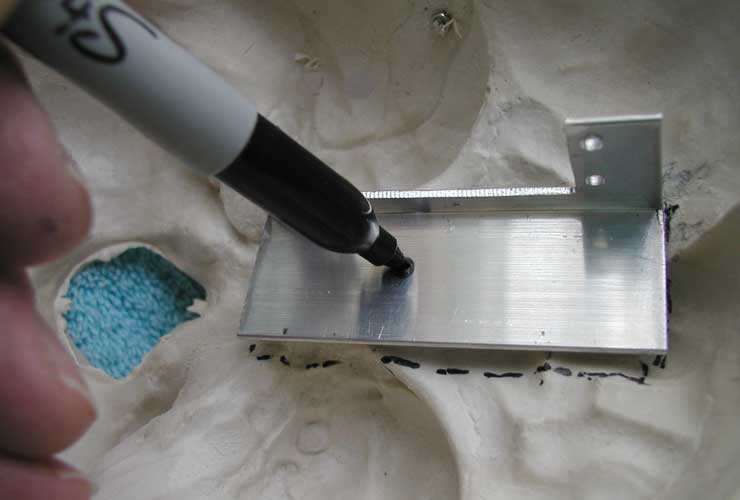
On
the inside of the skull, right above the flat area shown above right,
make a mark. Place the servo bracket where it will be mounted and transfer
this mark to the bracket.
|
 |
 |
Using the appropriate size drill bit for a #6 screw, drill a hole through the bracket and skull where they were marked. |
 |
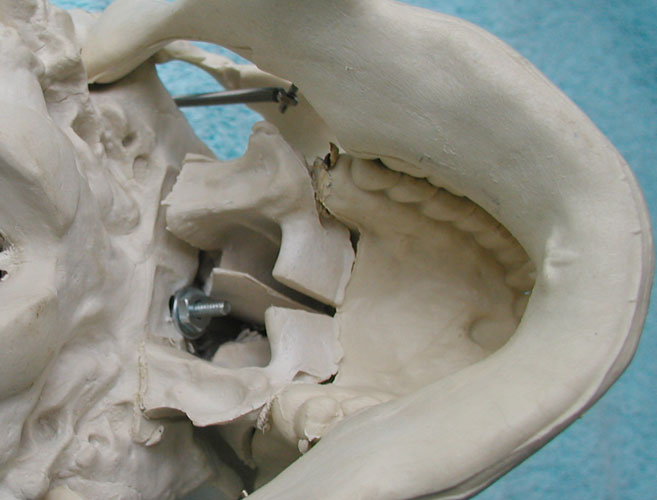
Using
the #6 screw, nut and washer, mount the servo bracket in the Bucky skull.
Tighten securely but don't over tighten as it might bend the bracket.
|
 |
|
|
Halloween Home | last update 12/2016 |