Rocking
a Chair with a Wiper Motor (page 2)

|
Rocking
a Chair with a Wiper Motor (page 2)
|
|
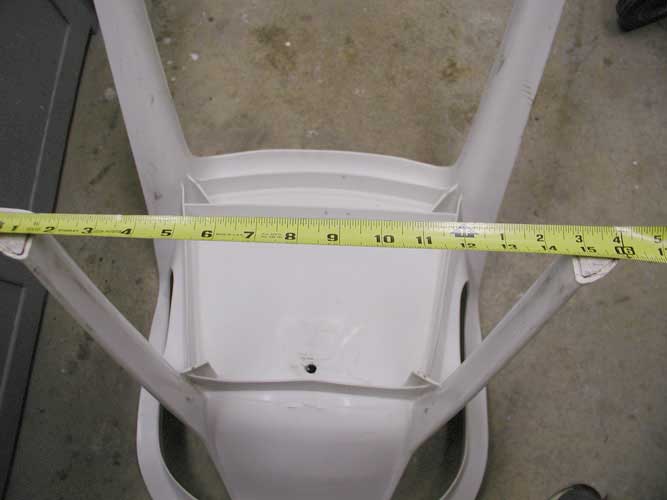 |
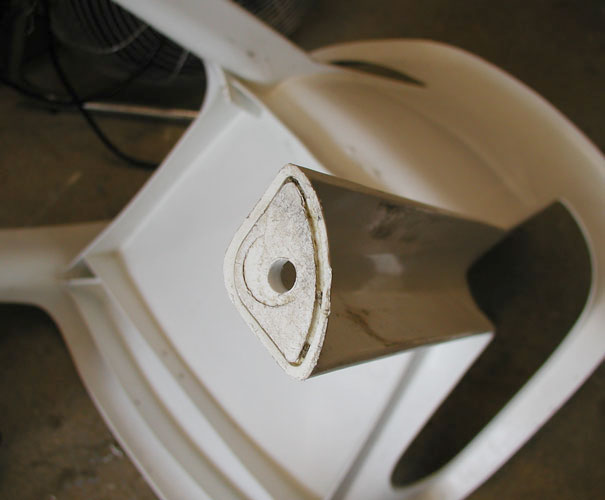
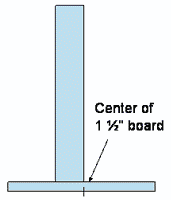
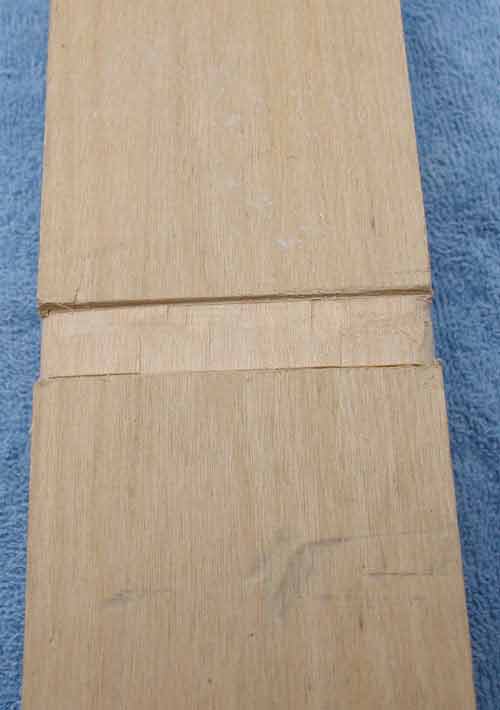
First step is to measure the span of the rear legs of your chair. You'll want to cut the 1 1/2" wide piece of wood just a little longer than this span. In this case, my chair was 16" wide and I cut the wood 16 1/4" long. You'll also need to drill a 5/16" hole in the end of each rear chair leg. You may need to alter this procedure due to the design of your chair. |
 |
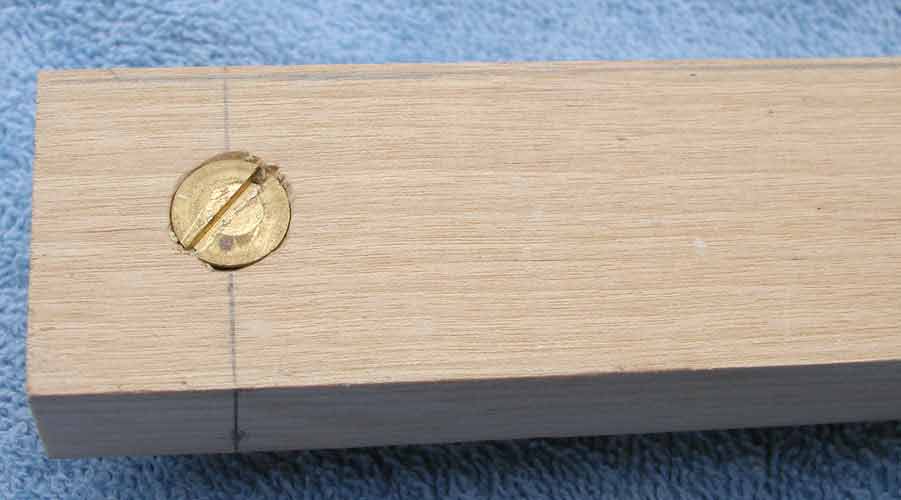 |
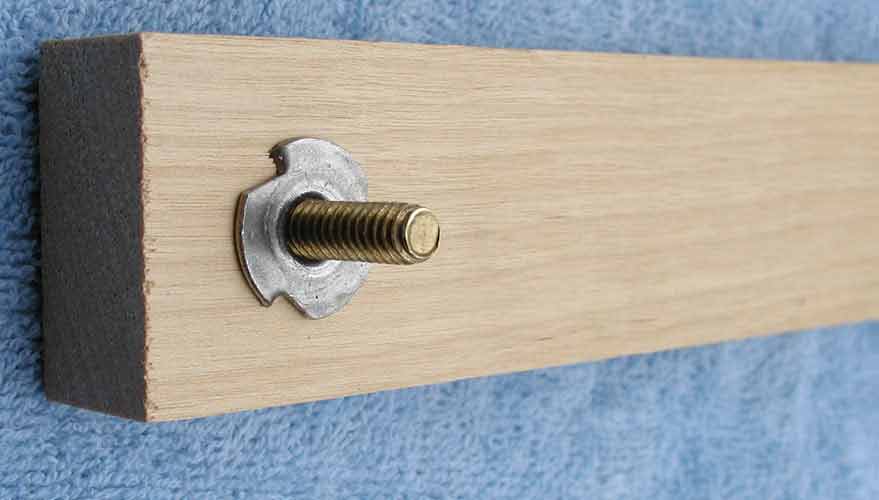
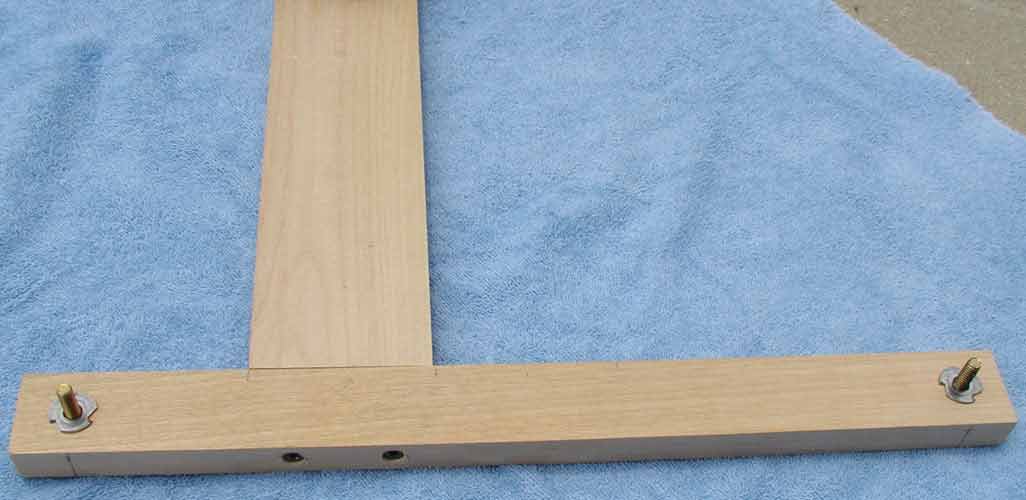
Drill a hole in each end of the 1 1/2" wide board to match the holes in the chair legs. This hole needs to be big enough to accommodate the "T" nut, which should be about 5/16" diameter. Countersink the hole so the 1/4" screw will fit flush with the bottom of the wood. Insert the "T" nut into the top side of the wood and then screw in the screw. The picture at left shows the bottom side of the wood with the screw inserted, the picture at right is the top. |
 |
 |
Next, we'll join the two boards together. Line them up as shown at left, with right side of the 3" board aligned with the center line of the 1 1/2" board (this will place the drive side of the motor below the center of the chair). Pre-drill and countersink for the 2 1/2" wood screws, then using those screws, join the two boards together. |
 |
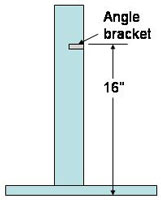 |
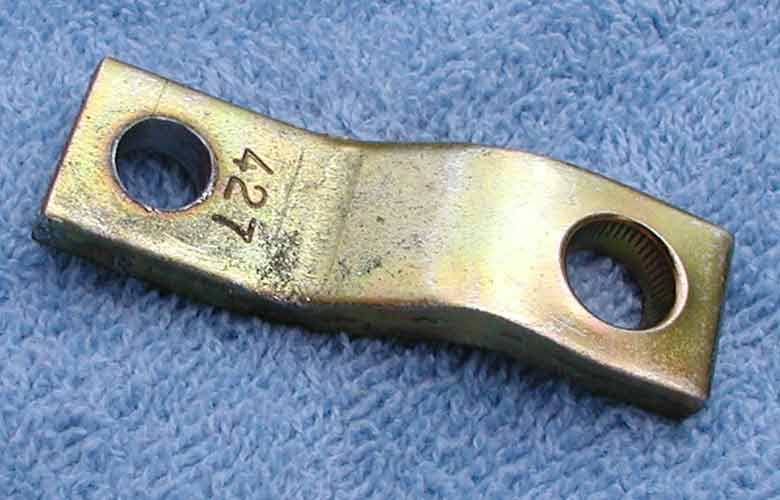
In this step, we'll install the angle bracket that will be used to mount the motor. Mark a line on the 3" wide board about 16" from the back edge of the 1 1/2" board (this distance may vary depending on the chair). Hold the angle bracket on this line, mark the two holes and drill them out for the #10 screws. Counter sink the holes on the bottom side of the board, insert the screws, and mount the angle bracket with the #10 washers and nuts as shown at right. |
 |
 |
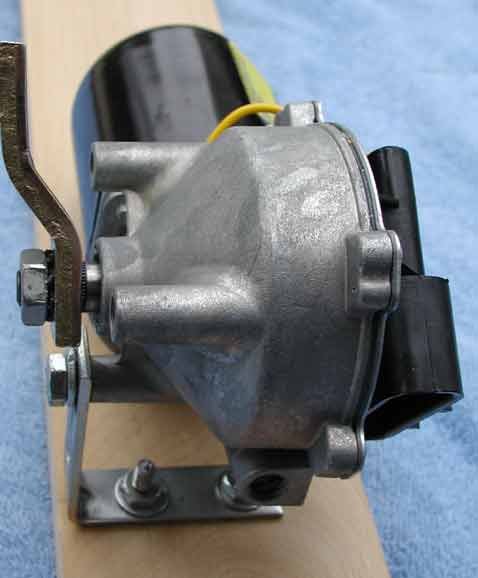
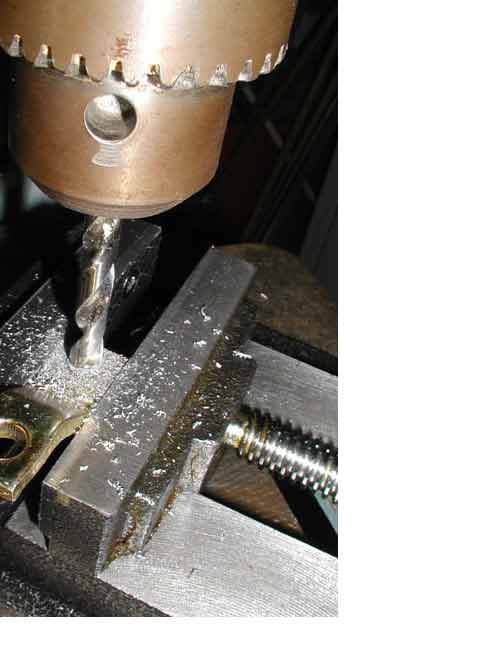
To mount
the motor, you'll need to enlarge the top hole in the angle bracket to accommodate
the 6mm screw for mounting the motor. Use a 1/4" drill bit (or 6mm)
to drill out this hole.
Next, place the hose clamp over the angle bracket as shown left. Using the 6mm screw and 1/4" lock washer, mount the motor, as shown right, with the gearbox forward and the motor housing to the rear. |
 |
 |
This step is optional, but if you're going to use the chair on a hard surface, I'd recommend it. Temporarily slide the hose clamp over the motor and mark the underside of the board along the path of the clamp. Slide the hose clamp out of the way and notch out the board as shown left. I just used a back saw and chisel to make the notch. There are many other ways to do it (i.e. dado blade, router, etc.). Now slide the hose clamp over the motor and tighten securely, but not too tight or you'll dent the motor casing.
|
 |
|
We need to remove the ball from the arm that's attached to the motor
|
 |
 |
 |
 |
| Halloween Home | last updated 6/2005 |