|
|
|
|
Update Halloween 2015.... The "rotating tunnel that you walk through"* completed its eighth Halloween season (I currently do the setup every other year) and is still going strong. It's getting better with age, the wooden hoops are "wearing-in" to conform nicely to the bicycle guide wheels and it runs very smoothly and quietly. This is by far the highlight of my haunt. The kids keep circling the house just to walk through the tunnel. In 2007, a total of 1206 people passed through the tunnel (How do I know this? I'd like to say it's some sophisticated counting device, but alas, one rainy day I sat down and watched the video at 2x speed and counted everyone going through). Update 7/2009: I've added a FAQ section. *Update 8/2008: This tunnel was formerly called another name (starting with V and ending with x) but I've been informed that it's a trade name and that I can no longer use it. More info in the FAQ section. Following are some construction details and pictures of the final setup. I'd like to give thanks to several people for their help and inspiration:
|
|
|
|
|
|
|
|
|
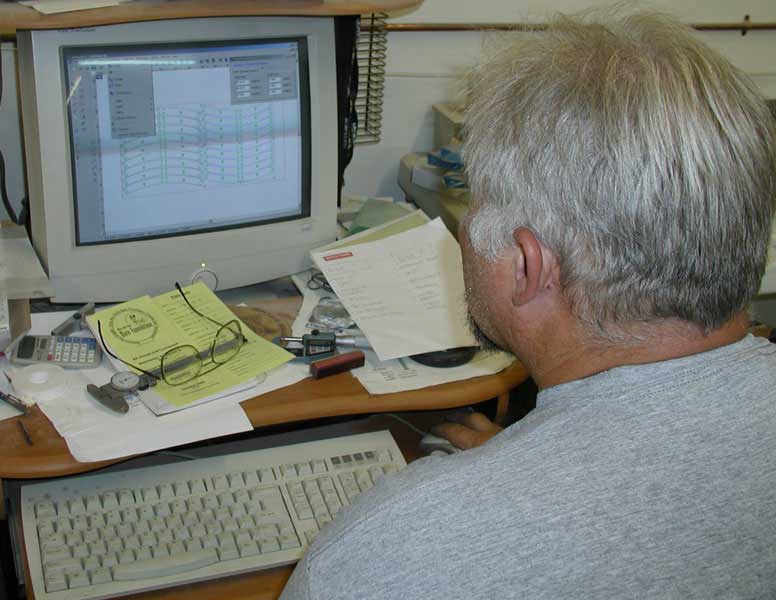
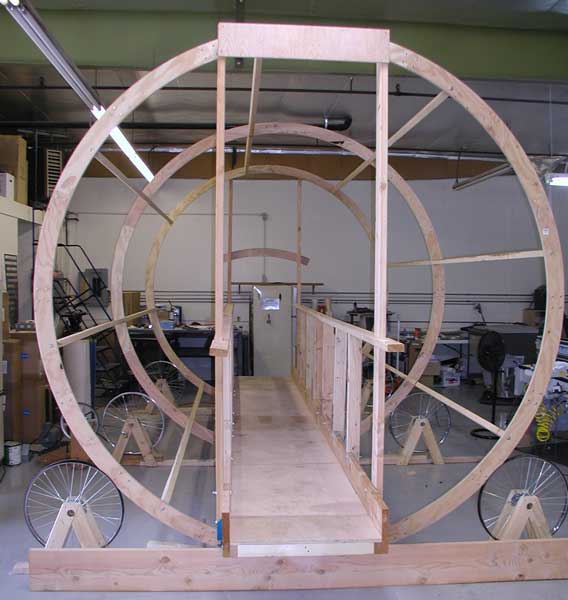
The
heart and soul of any "rotating tunnel that you walk through" is
the tunnel itself. This one will be comprised of three 10' diameter
"hoops" attached together. |
|
Jim
designing the hoops on the computer. Each hoop will be made of 16 pieces,
with each piece being 1/8 of the arc. The pieces are overlapped (double
thickness) for joining together. |
|
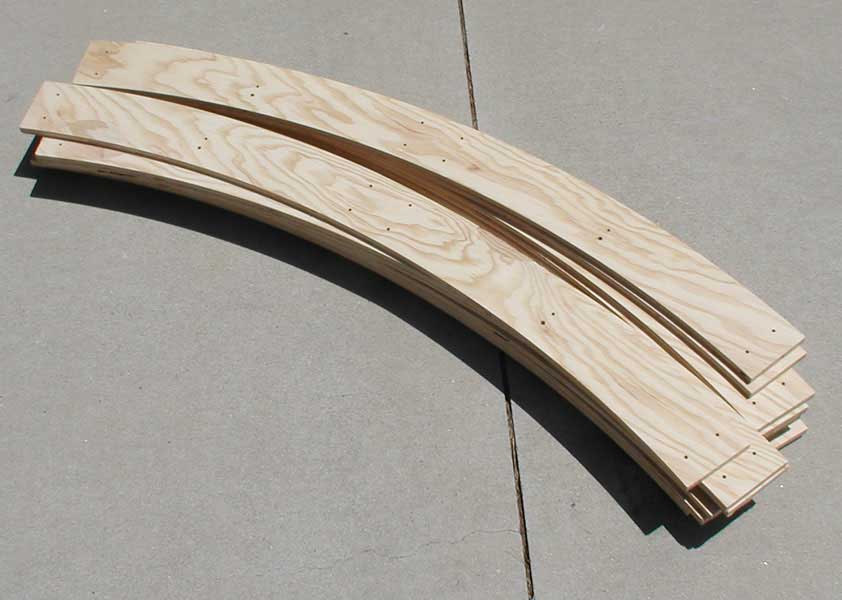
The
individual pieces are cut from 1/2" plywood using a CNC router (thanks
Jim). The accuracy of this device is absolutely amazing |


|
|
|
|
|
Here
are the individual arcs for one hoop ready for assembly, |
|
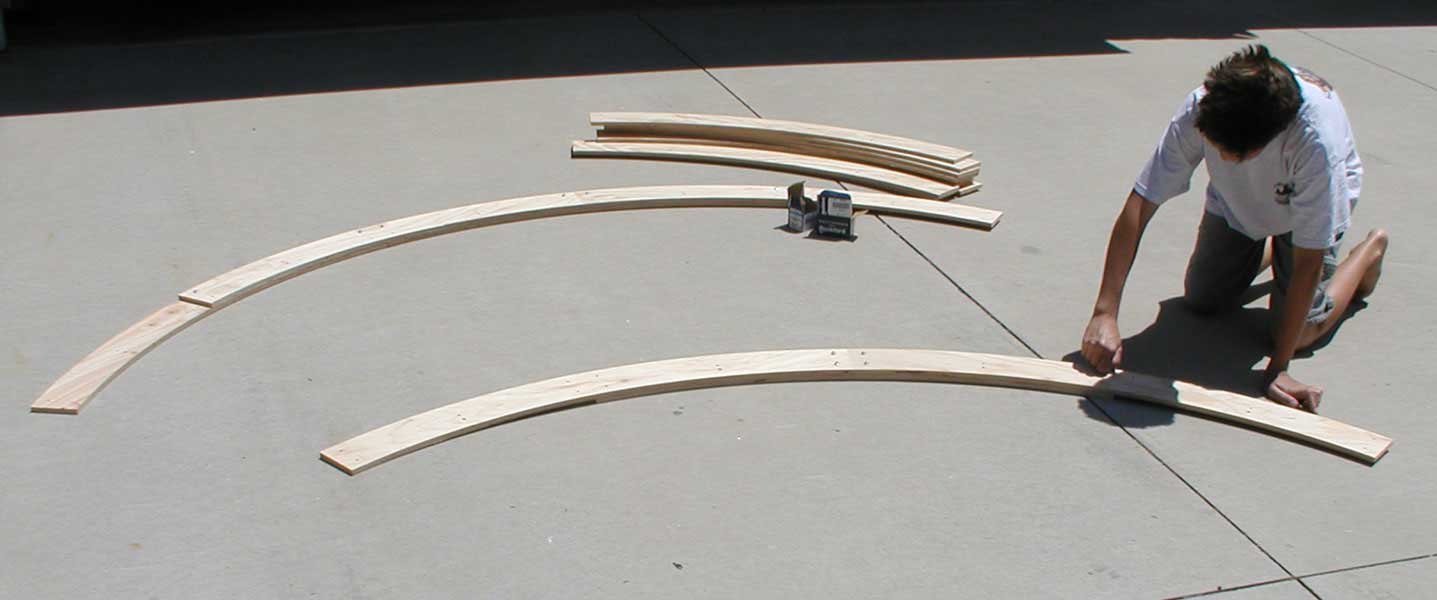
and
being put together by my son, Kyle. |
|
|
|
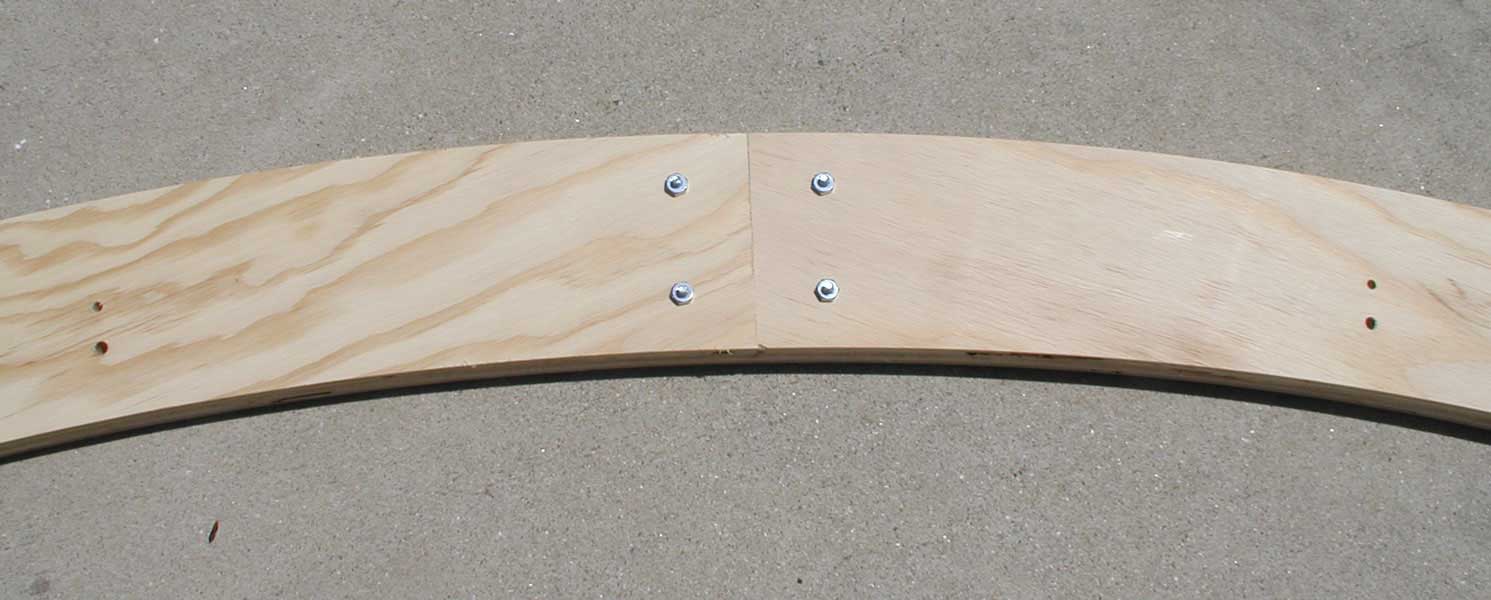
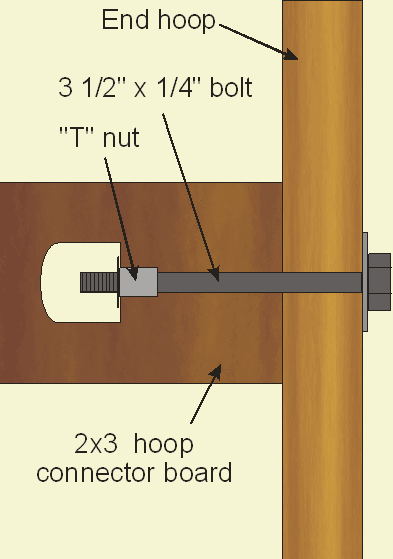
The
joints fit together perfectly to form the complete circle. Note that I'm now
using "T" nuts instead of loose nuts as shown in the above picture.
|
|
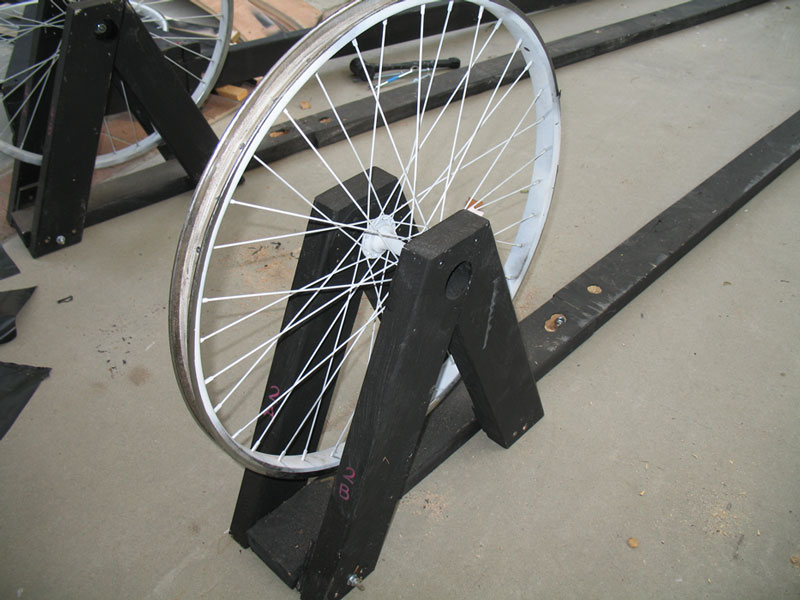
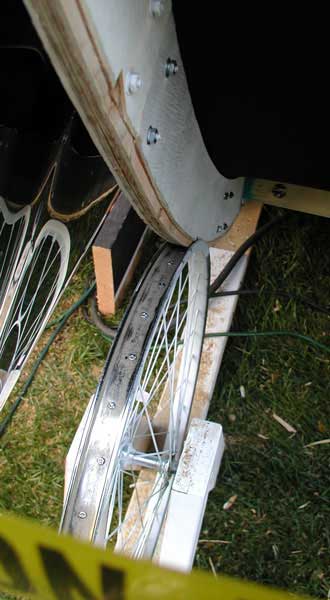
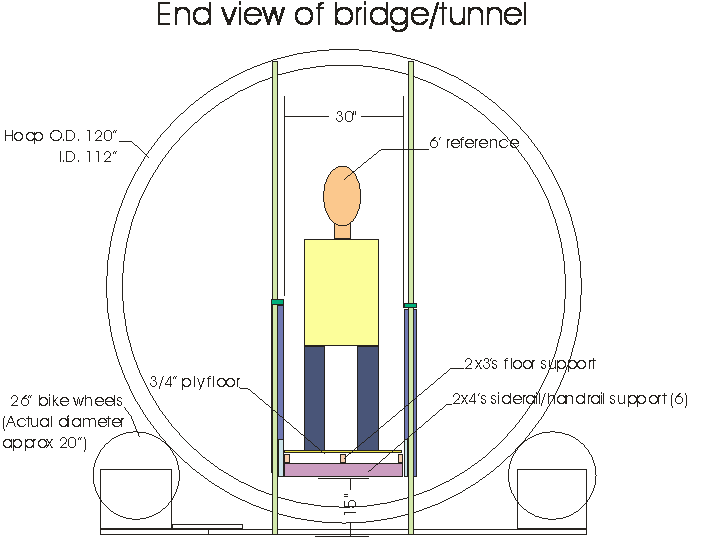
When the three hoops are joined together, they'll rest on
three pairs of bicycle wheels. Of those six wheels, five are free spinning
(like the one shown right) and the sixth is driven by a motor which rotates
the overall tunnel. |
|
|
|
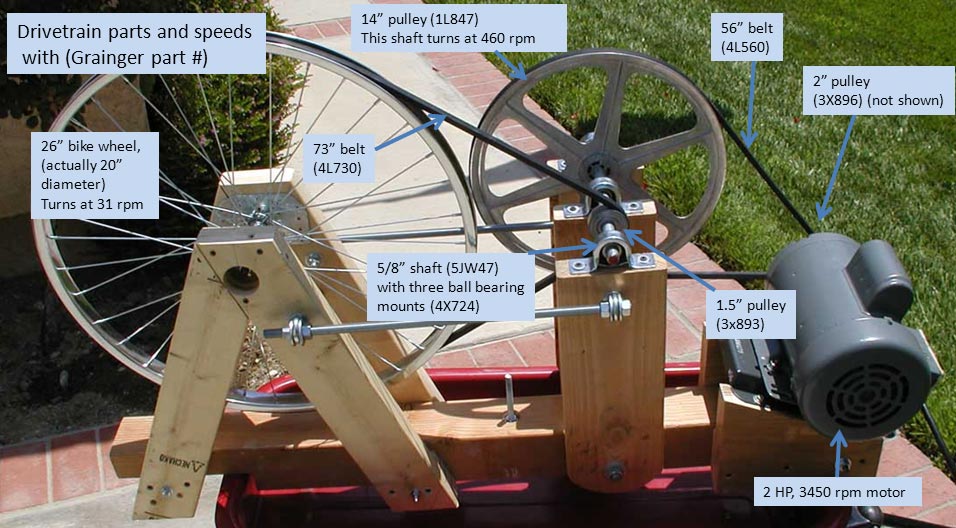
This is the drive wheel/motor mechanism. Now you may be
asking yourself "why is it so complicated?" The answer is because
I'm cheap. I had a high quality, 2HP, 3450 RPM motor sitting around and
didn't want to spend money on a slower motor. I had to devise a way to slow
that motor speed down to the approximately 5 RPM the tunnel needs. This is
what I came up with. The final tunnel speed was 5.5 rpm which seemed to be
perfect. Click here for parts and speed
details. |

|
|
|
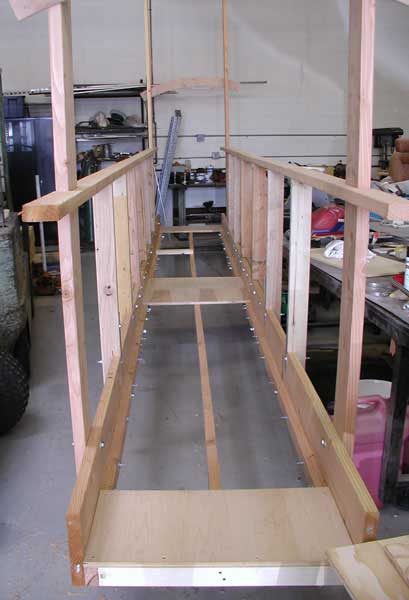
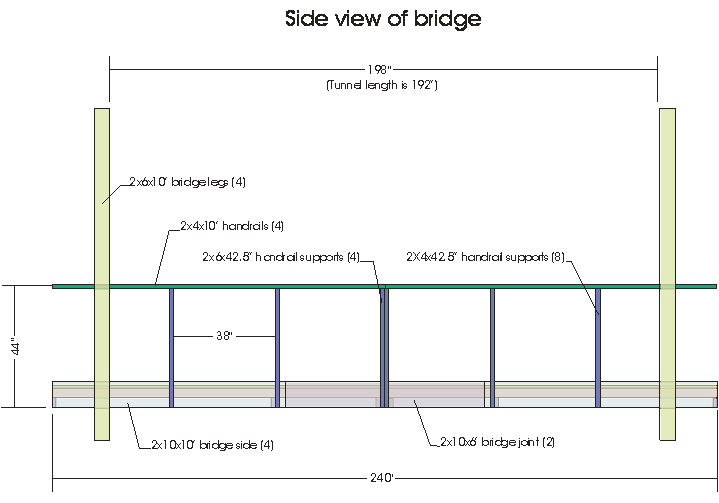
Here
is the bridge that will go through the middle of the spinning tunnel. As seen
here, it's about 80% complete. It is 20' long overall (two 10' sections
joined together) and made of 2x10 lumber as the primary structure. It has
been tested with over 400 pounds in the middle and deflection was less than
1/4" (whew!). The final version of the bridge was a little different
than these pictures show. The walking surface of the bridge was moved up to
the middle of the side 2x10's which allowed us to run 2x4 bracing underneath
to strengthen the hand rails. The final version is a very solid
structure. |
|
|
|
|
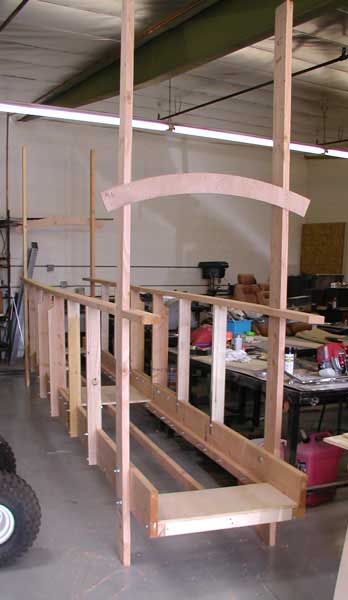
Here are a couple more pictures of the tunnel under construction. Just for size reference, the white thing on the left side of the picture to the left is a full sized refrigerator. In the background is the CNC router that created the rings. |
|

|
|
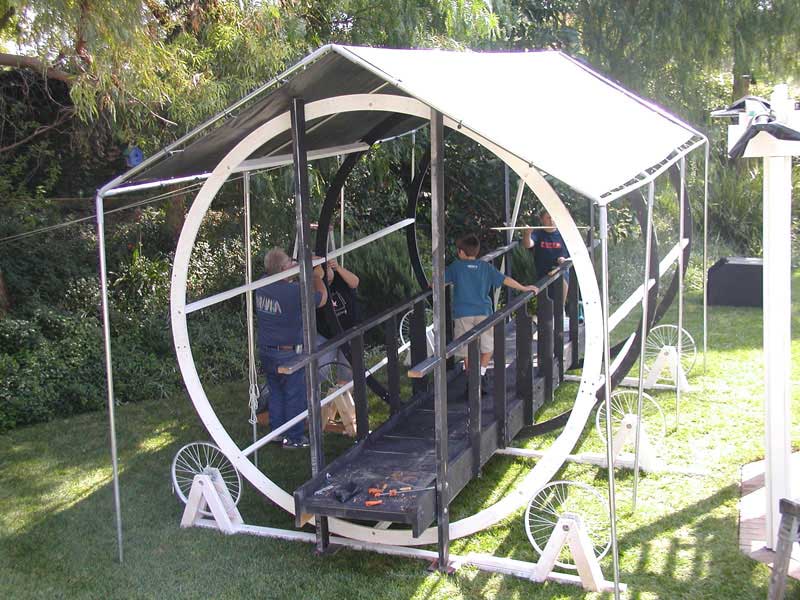
Here are some pictures of the initial setup. It's really
hard to take pictures of since it's so large. I find the canopy is essential
to protect the tunnel from weather and to keep out stray light. This is a
10x20 canopy with leg extensions to raise it an additional three feet to
accommodate the tunnel. When completed, it's entirely enclosed on the sides
and ends. More pictures of our 2007 setup can be found here. |
|
|
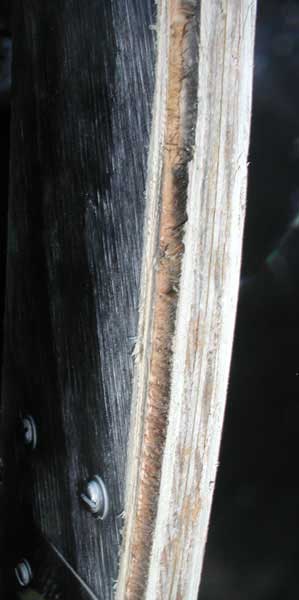
One of the problems of using wooden hoops is protecting
them from the weather. If they get wet, there's always the potential of warpage and swelling. The first year we set it up, we had
a couple days of rain before we could finish. The hoops actually swelled up
enough that they wedged themselves in the bicycle wheels. A handheld router
with a rabbeting bit solved the problem by trimming the hoops to better fit
the wheels. An added benefit was smoother running wheels. They are now fully
painted with latex paint to help resist moisture. |
|
|
|
|
|
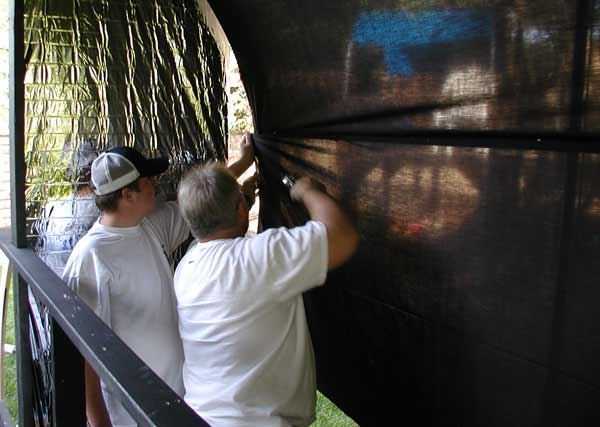
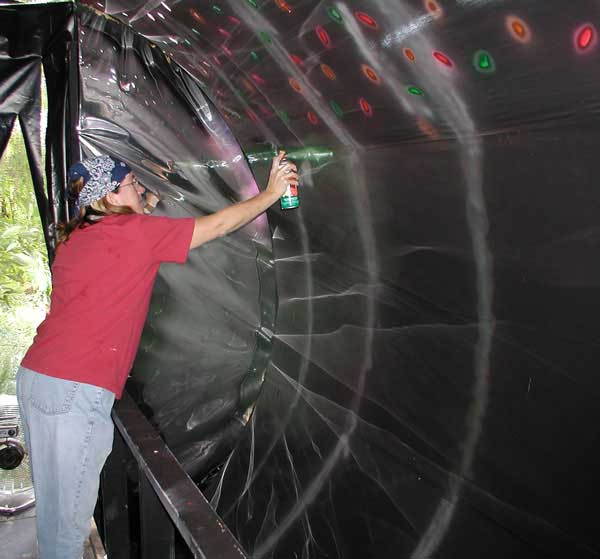
At left is Jim and his son Jay attaching the cloth lining to the tunnel. You can see the cloth is pretty thin, but that's what you get for $1.49/yard. At night, it worked very well. At right is my wife painting dots and lines on the lining. |
|
|
|
|
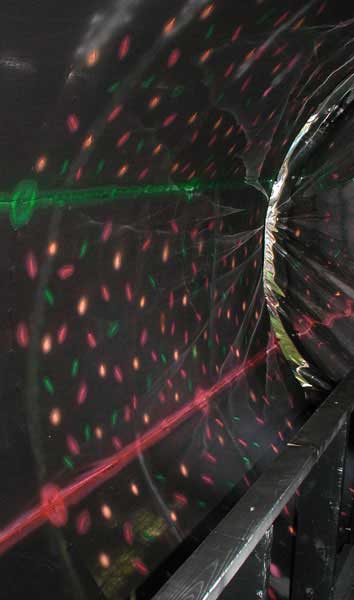
At first, we really weren't sure what kind of pattern to paint on the inside of the tunnel. I couldn't find much info on the web about what works the best, so we decided to paint a spiral pattern. It didn't work well. There was very little sensation of spinning, mainly because the lines, being more vertical, showed very little visual movement. We blacked out the spiral (you can see the remnants of it in the above right picture) and painted lines and dots. WHAT A DIFFERENCE! The effect went from mild (spiral) to overwhelming (dots and lines). If you're planning on making a tunnel, I strongly recommend a pattern that will give the greatest sense of movement. Another piece of advice I can offer is that you need to eliminate all outside references. Any reference to outside stationary objects or light will considerably diminish the effect of the tunnel. Since our tunnel is in the back yard, it's nearly impossible to completely control the sunlight without building a hard wall structure. Because of this, the effect of the tunnel is not nearly as good during the day as it is at night. |
|
|
|
|
|
|
|
|
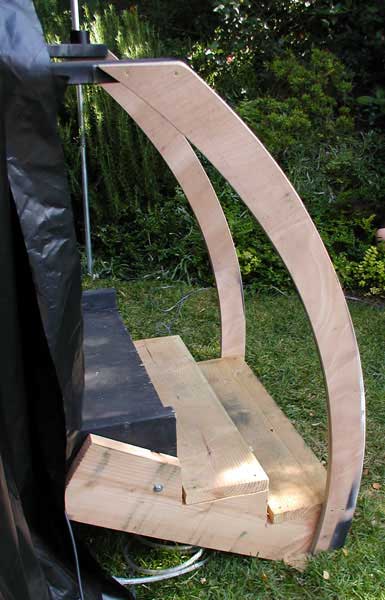
These are the stairs for the bridge. The handrails were
made from arcs leftover from our test hoop. |
|
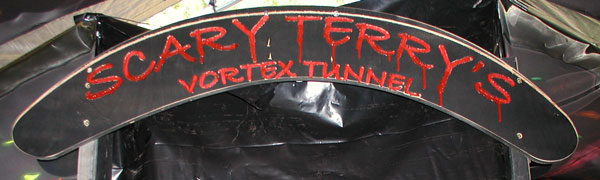
Here's
a sign Jim made on the CNC router. (The red paint "runs" were intentional.) |
|
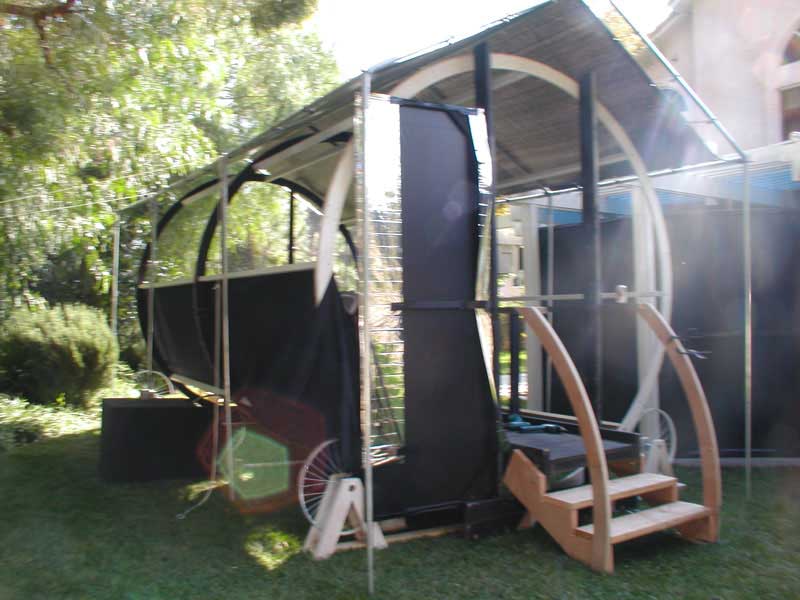
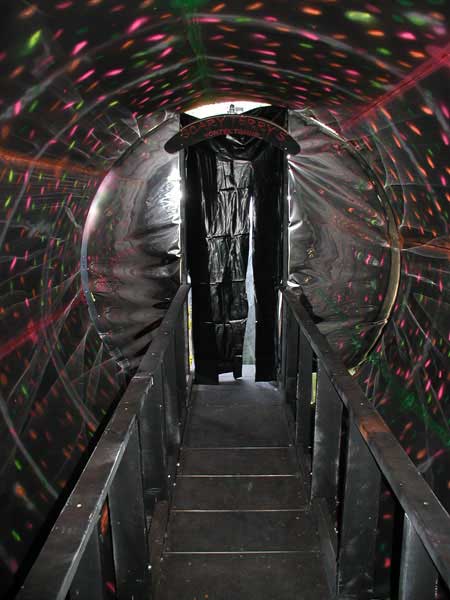
This is the completed tunnel. Believe me,
the picture doesn't do it justice. Standing on the bridge, with the tunnel
rotating around you is an incredible feeling. |
|
|
|
Click
on these pictures for some basic plans and dimensions. |
|
|
|
|
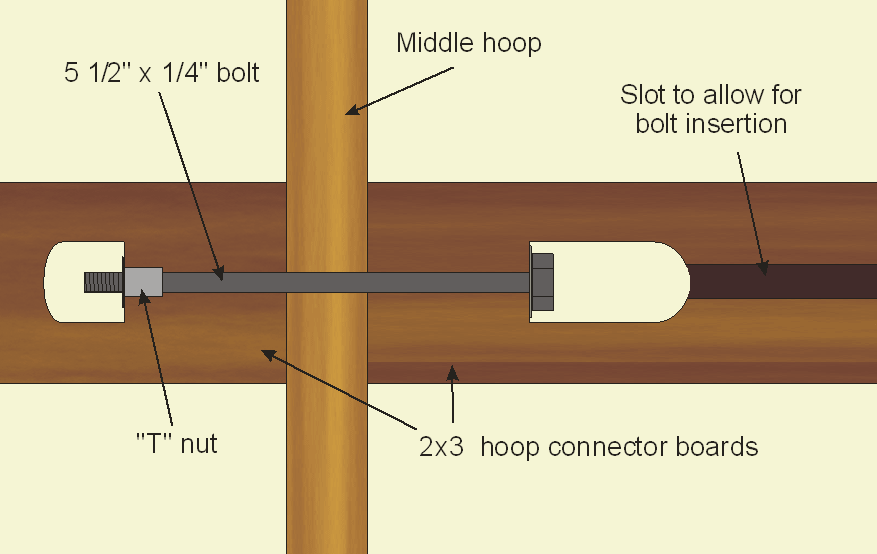
The hoops are connected together using 8' long 2x3's.
There are eight of them between each pair of hoops for a total of 16. These
drawings show how they're connected. |
|
|
|
|
|
last update 12/2016 |