Rocking
a Chair with a Wiper Motor

|
Rocking
a Chair with a Wiper Motor
|
|
|
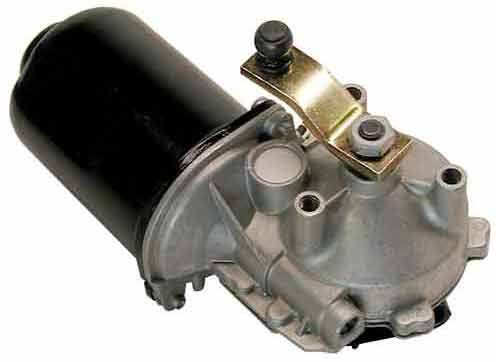
At right is Gus (some call him "Pops"), and he's our cemetery guard. The problem is, he's not very good. Hundreds of trick-or-treaters get by him each Halloween. He just sits in his chair with his feet propped up on a stump, rocks back and forth and snores all night long. It's like he's dead to the world. The following is a "how-to" for making a chair rock so you can create your own Gus or whatever you want to call him. It's a fairly simple project and a great introduction to using a wiper motor in your haunt. To eliminate any confusion, this is not a "rocking chair" but a plain old cheap plastic chair that rocks back and forth. It uses a Saturn wiper motor driven by a 5 volt power supply. Click here for more info on the wiper motor. Most of the parts can be obtained from your local hardware store/home center. I use a full sized 4th class "Bucky" skeleton. |
 |
 |
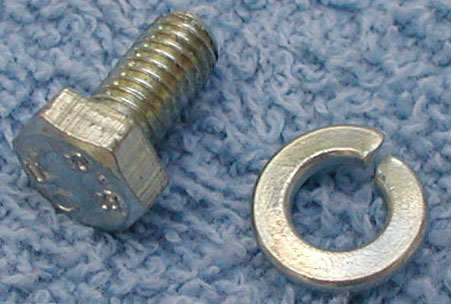
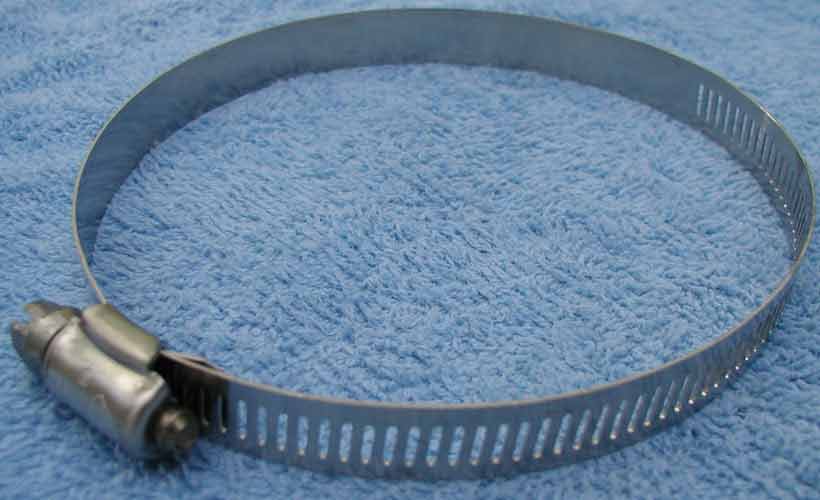
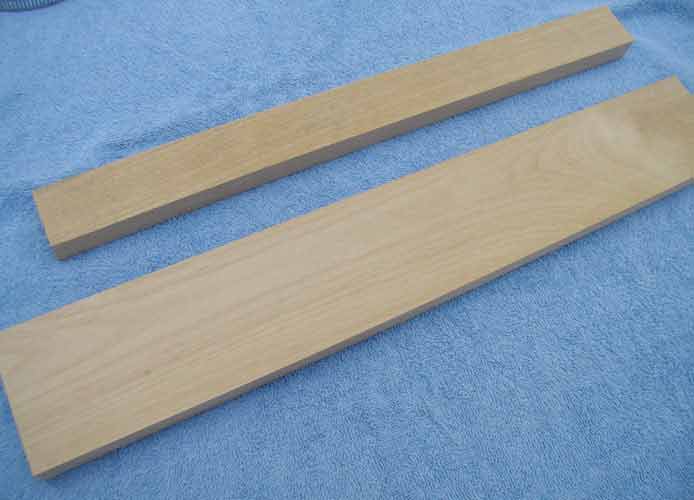
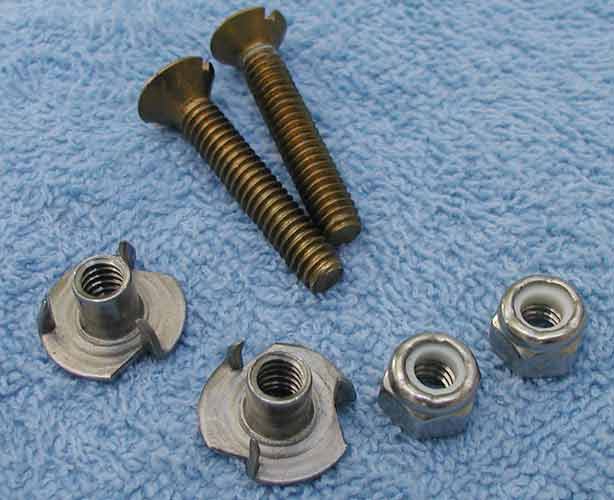
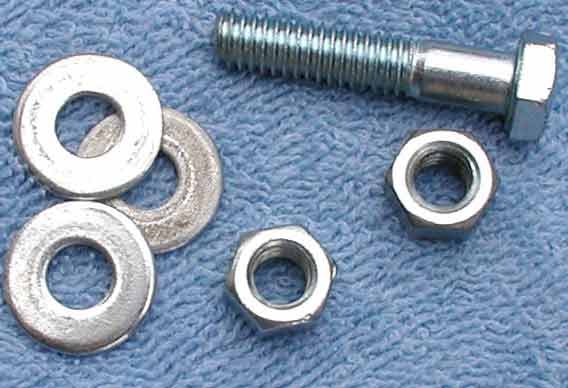
This is a picture of the mechanism we'll be making. It consists of a plastic chair, a "T" shaped piece of wood, a wiper motor and an aluminum bar to connect the motor to the chair. It should cost less than $35 for everything. Following is a parts list. You can click on any of the pictures for a larger image. |
|
|
You'll also need a plastic "patio" type chair. For convenience, I used a chair we already had. The modifications to the chair are minimal and it can be used the rest of the year as a regular chair. Additionally, you'll need hardware and possibly a piece of wood to attach the aluminum bar to your chair. See text for details. |
|
|
Halloween Home | last updated 11/2013 |